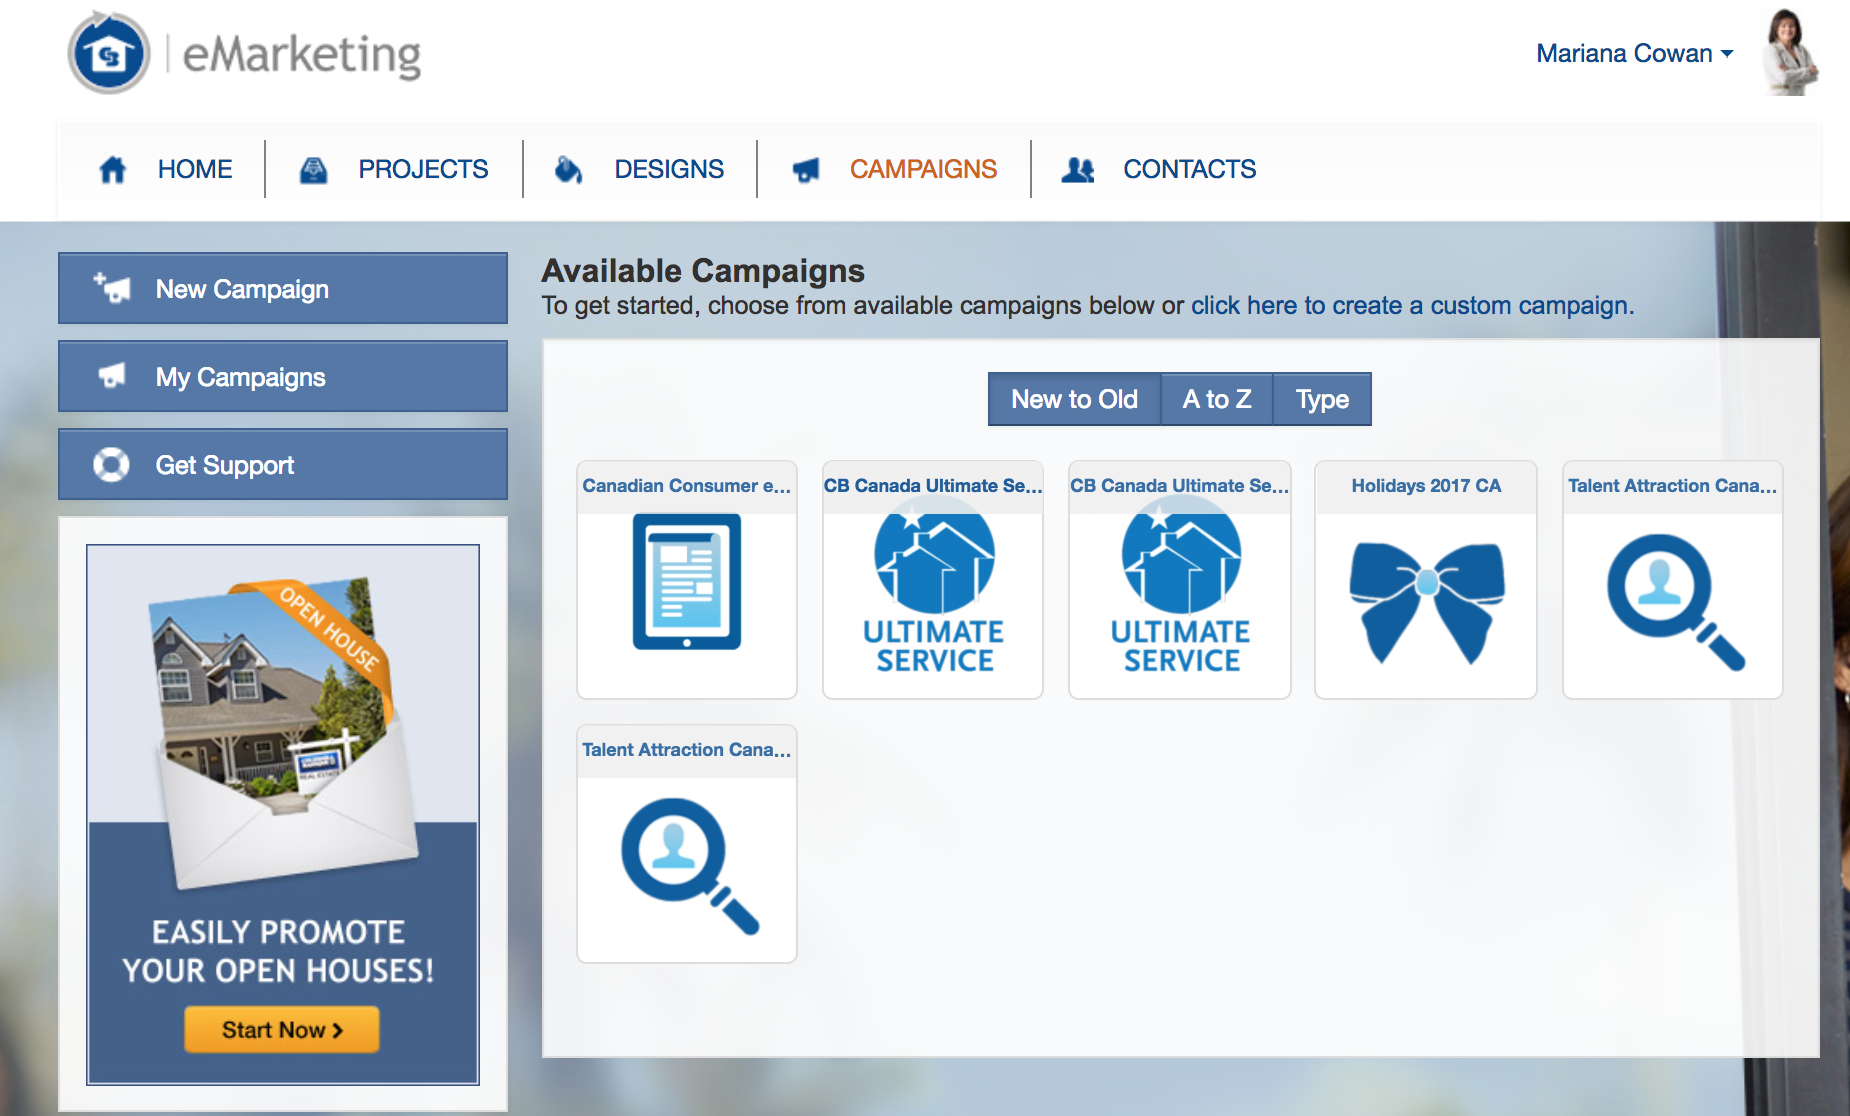
Navigate to eMarketing via CBExchange and click on the Campaigns tab.
Click: “click here to create custom campaign” and you will see the following window. Ensure “date based” is selected and choose a “title” for your new campaign.
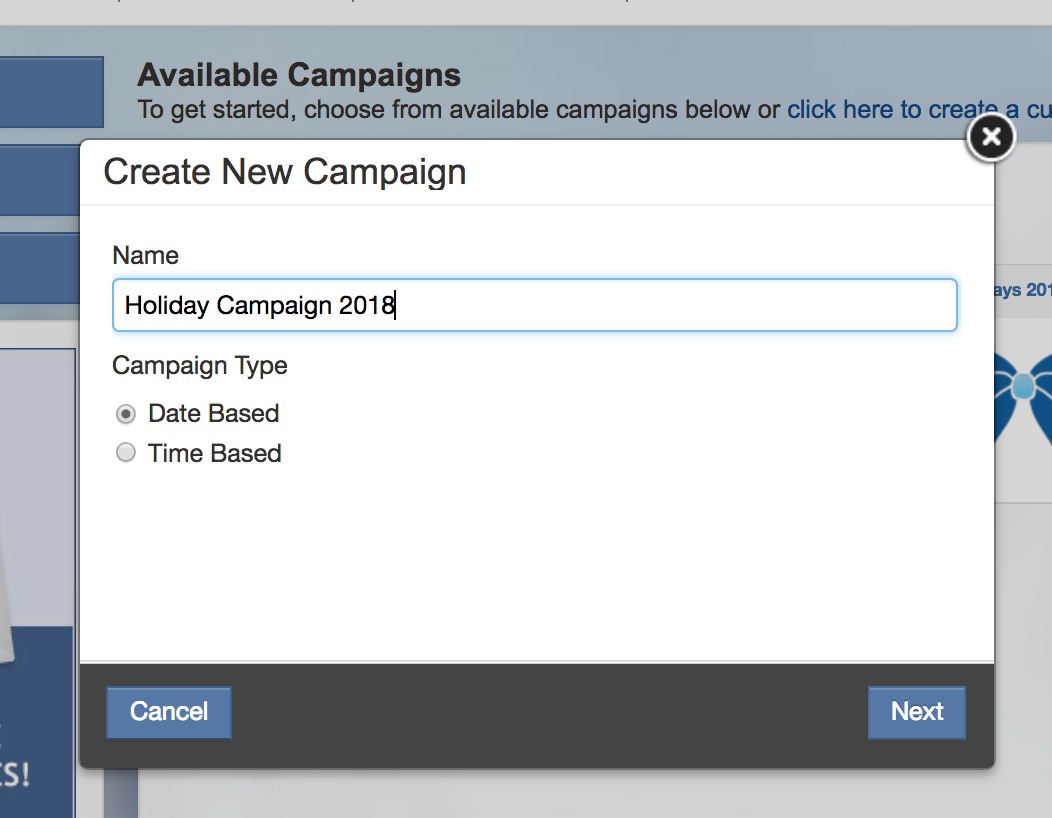
Have your calendar marked up in advance to save time, then click “Next” you will see the following window:
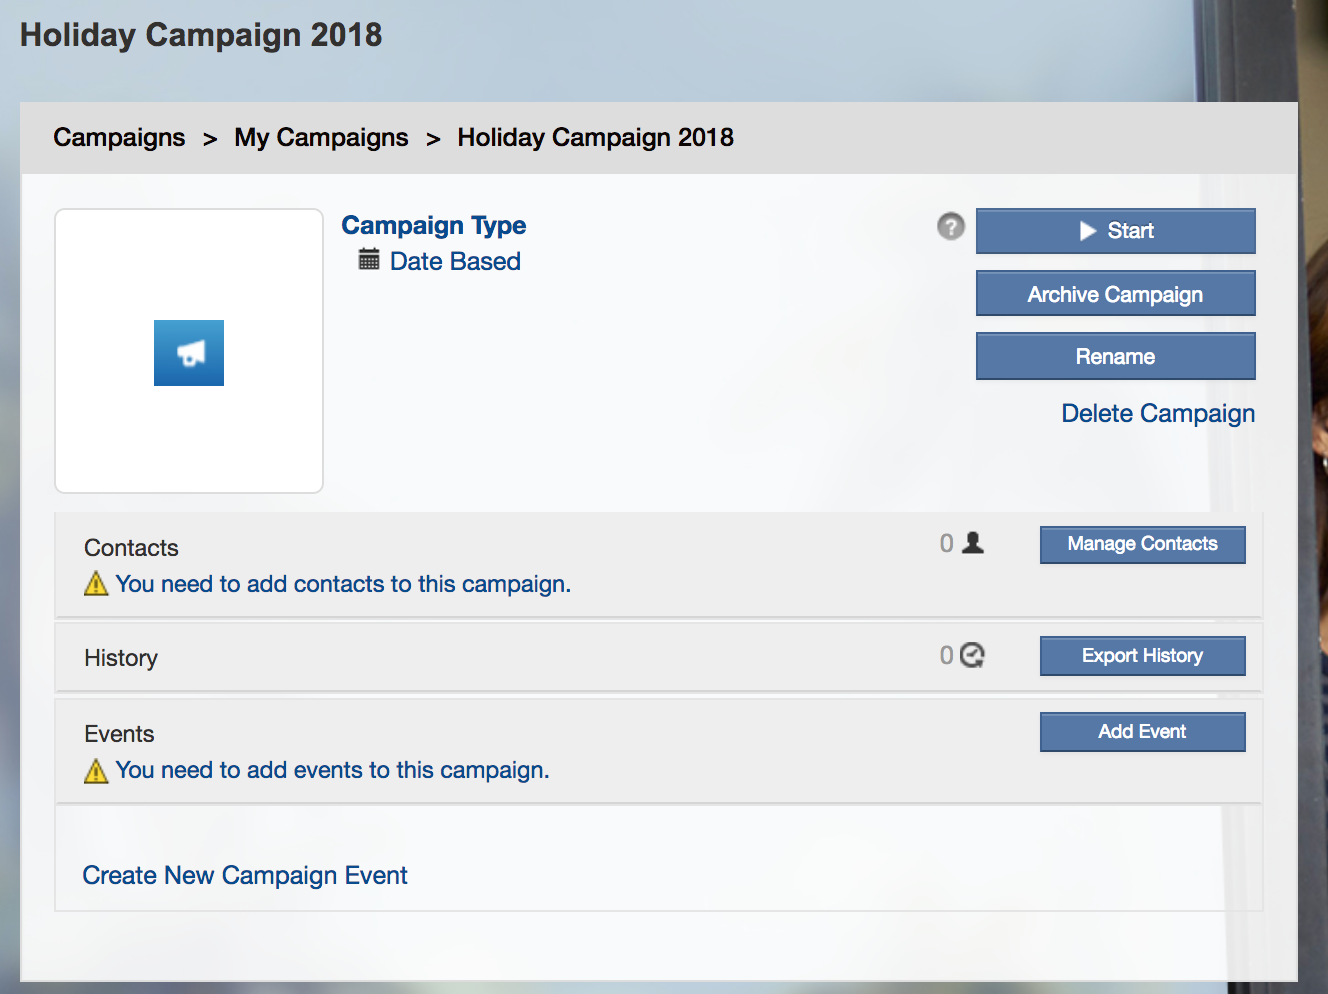
Click “Add Event”, give the event a “Name”, choose “Email” and choose the date you want to send the email. Then click “Next”. (I always choose to send a reminder 1 day prior to the event)
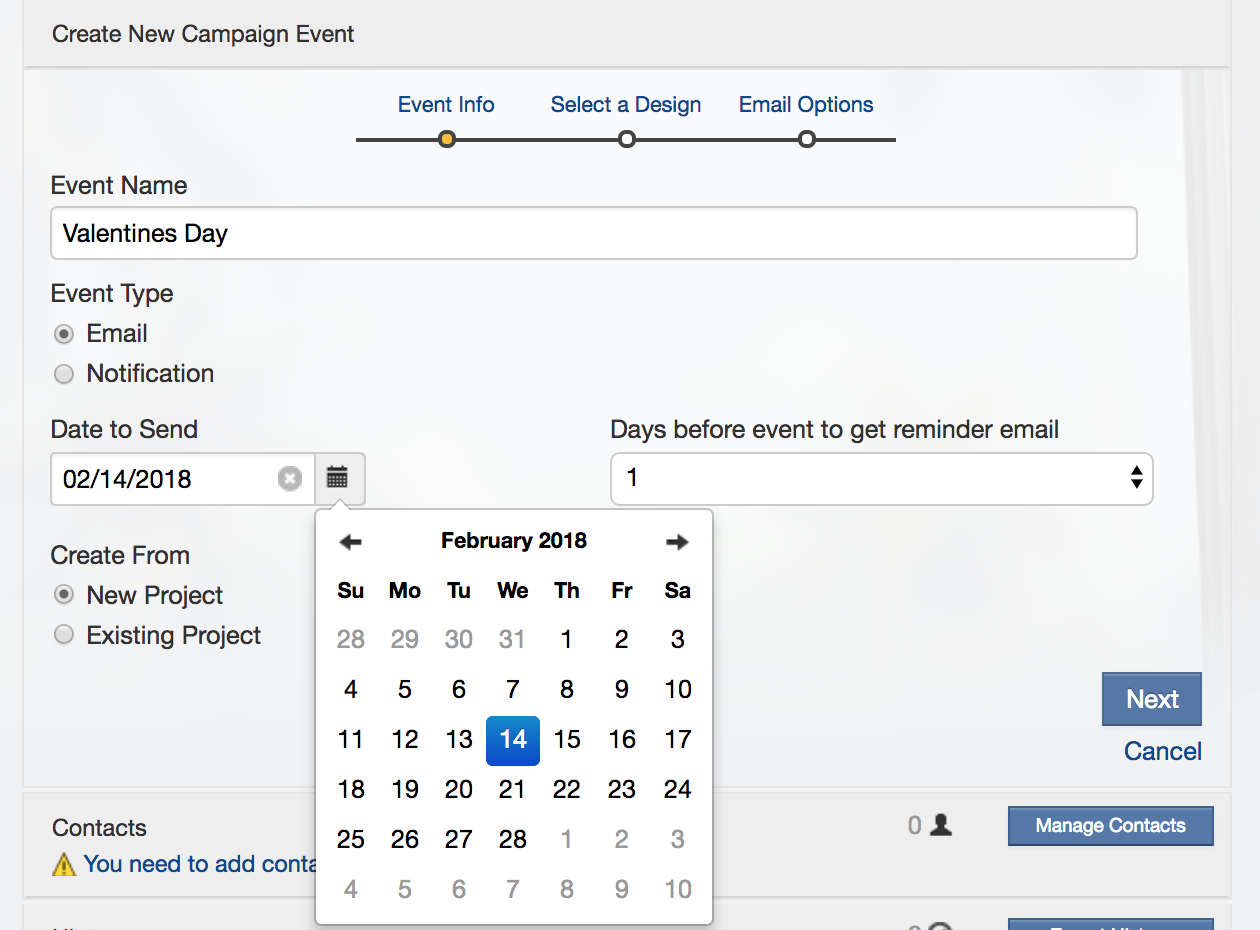
After you click Next the following window will appear where you can choose your design.
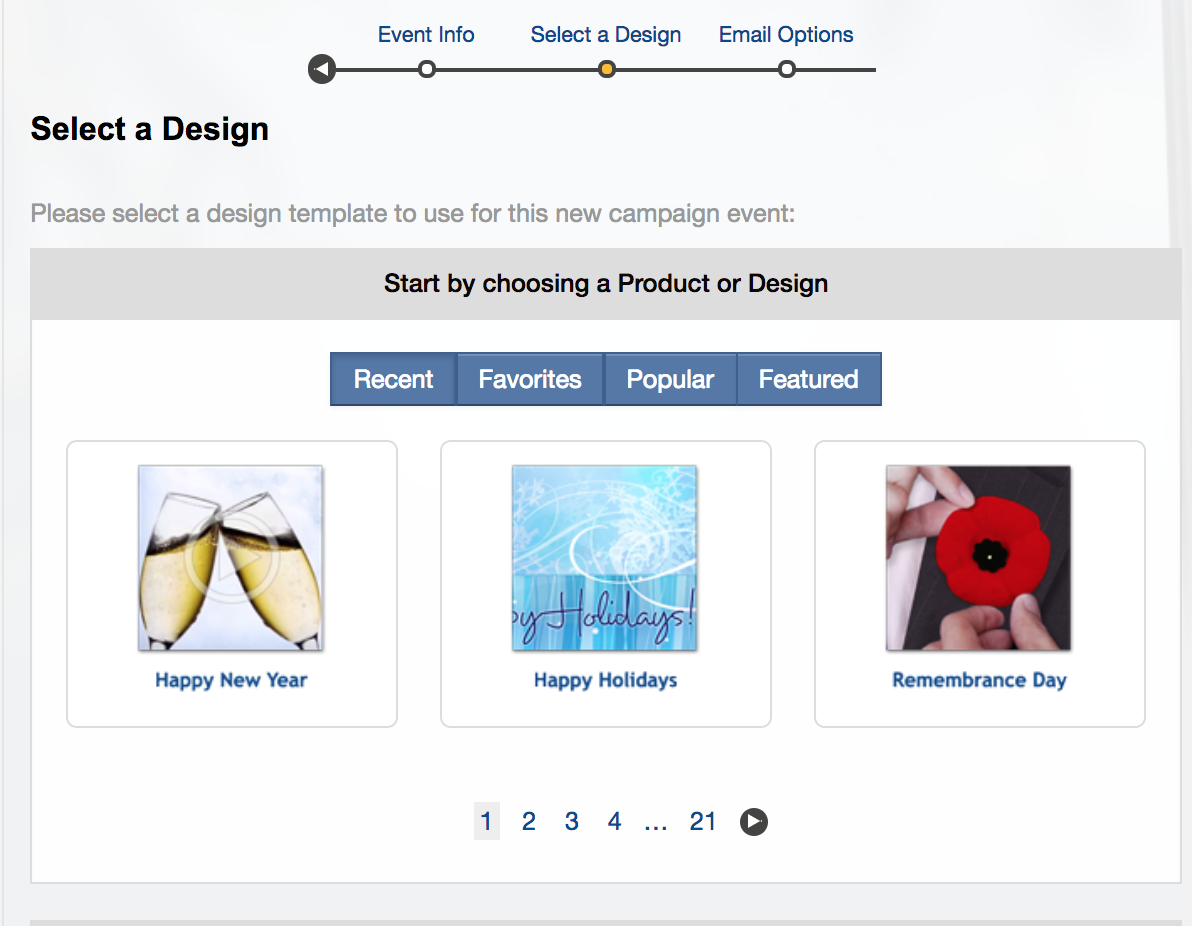
Scroll through the available designs and select your design.
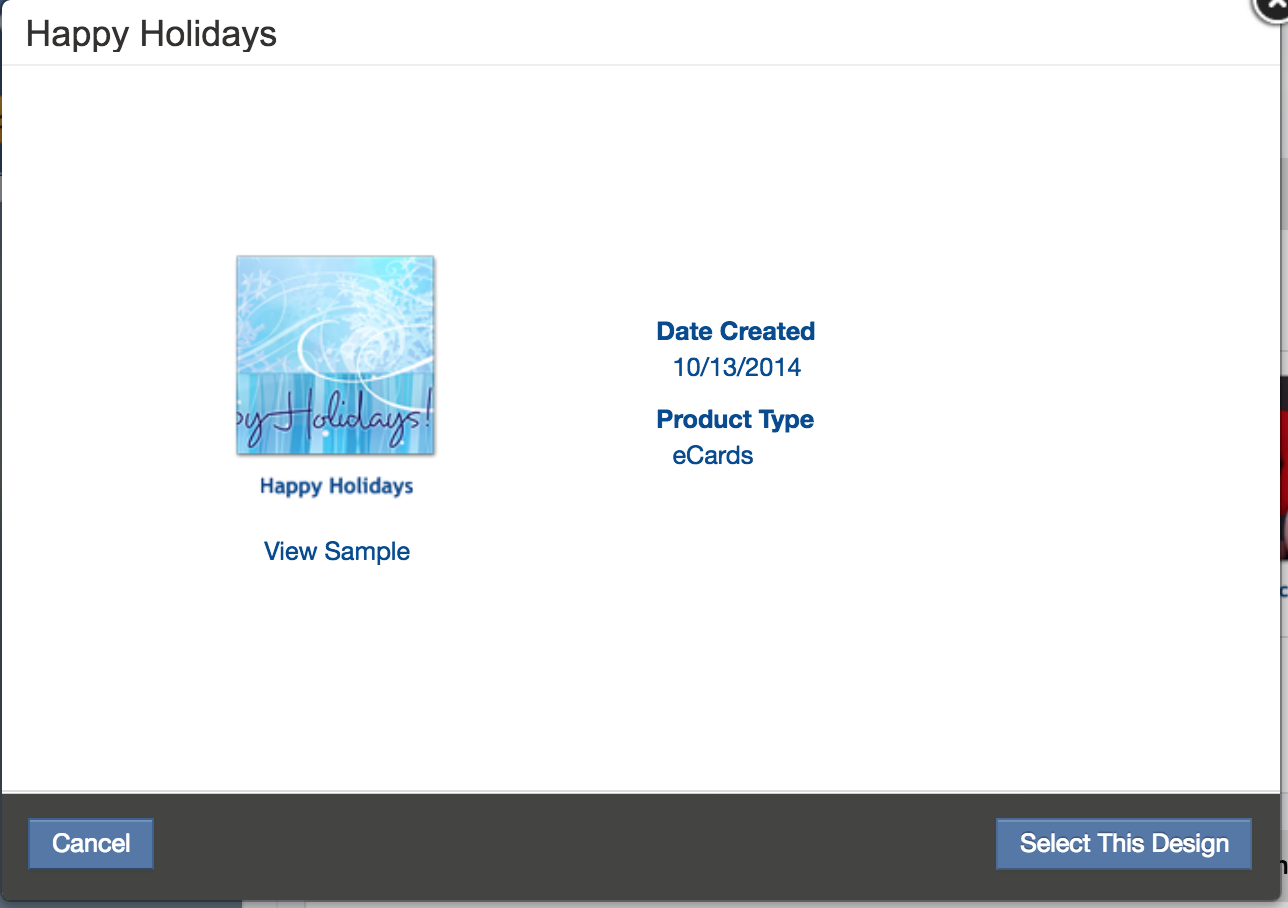
Then it’s time to enter your email subject line.
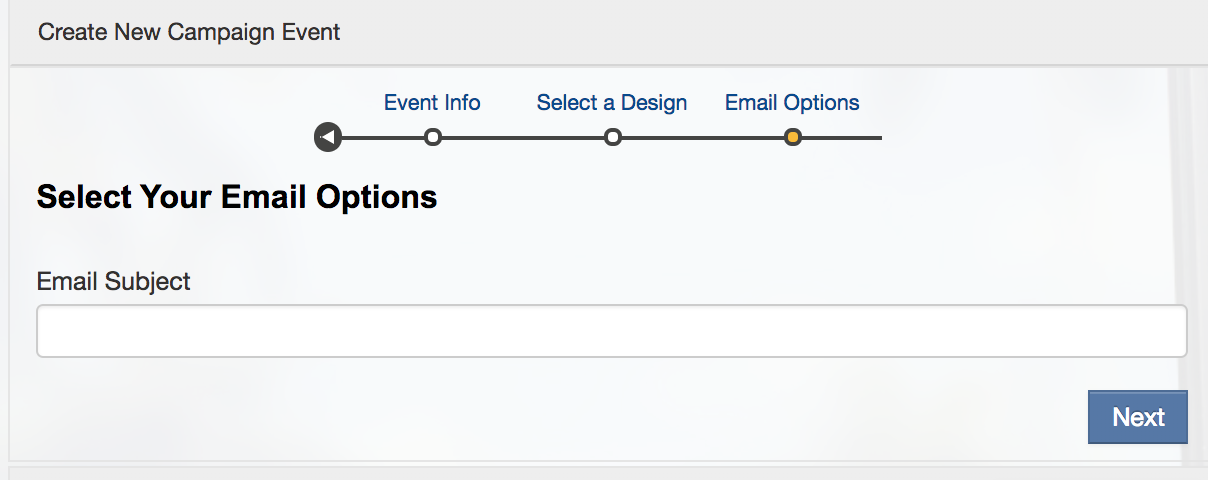
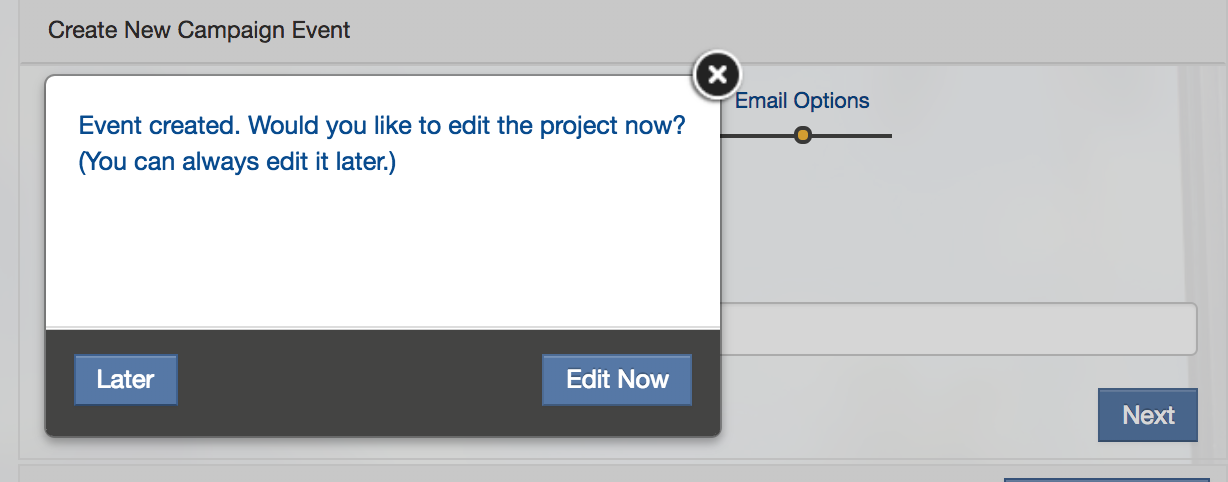
Once you enter your subject line it’s time to edit your Campaign. Click “Edit Now”.
Here you can replace the original image if you wish. Note: You have to delete the original image before you upload a new one.
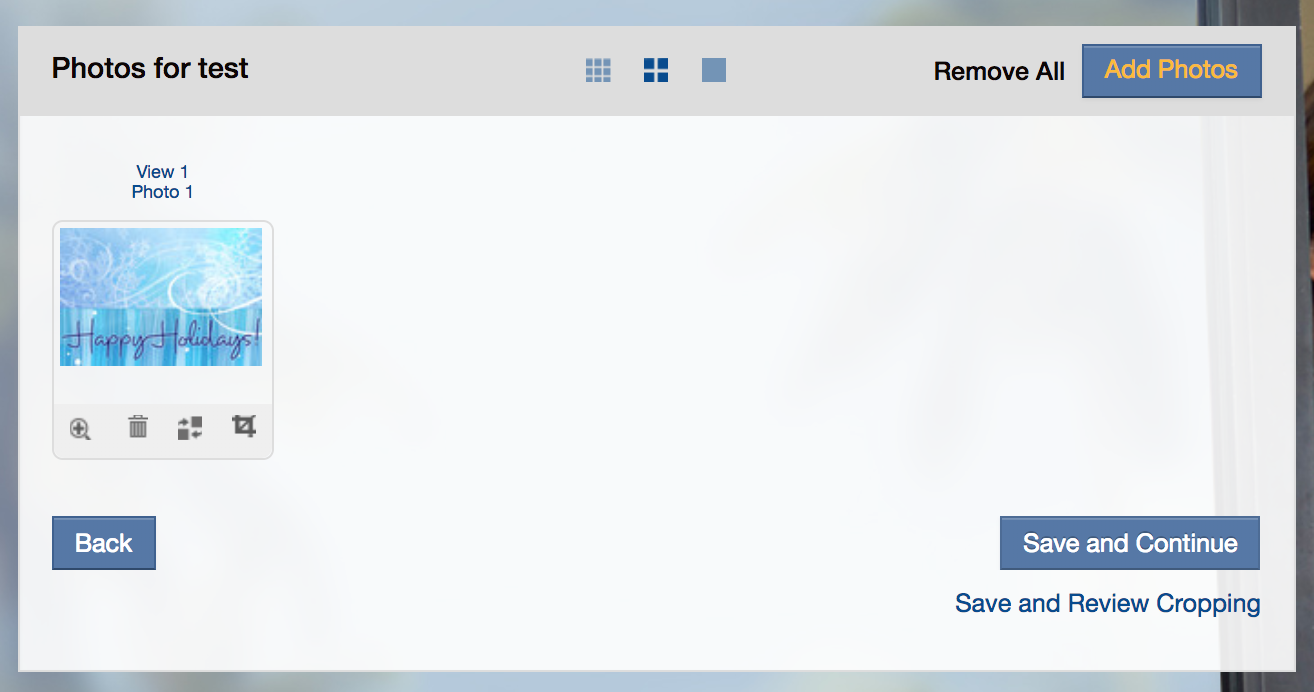
Click Save and Continue
Here you can enter some custom text or keep the text that is currently provided.
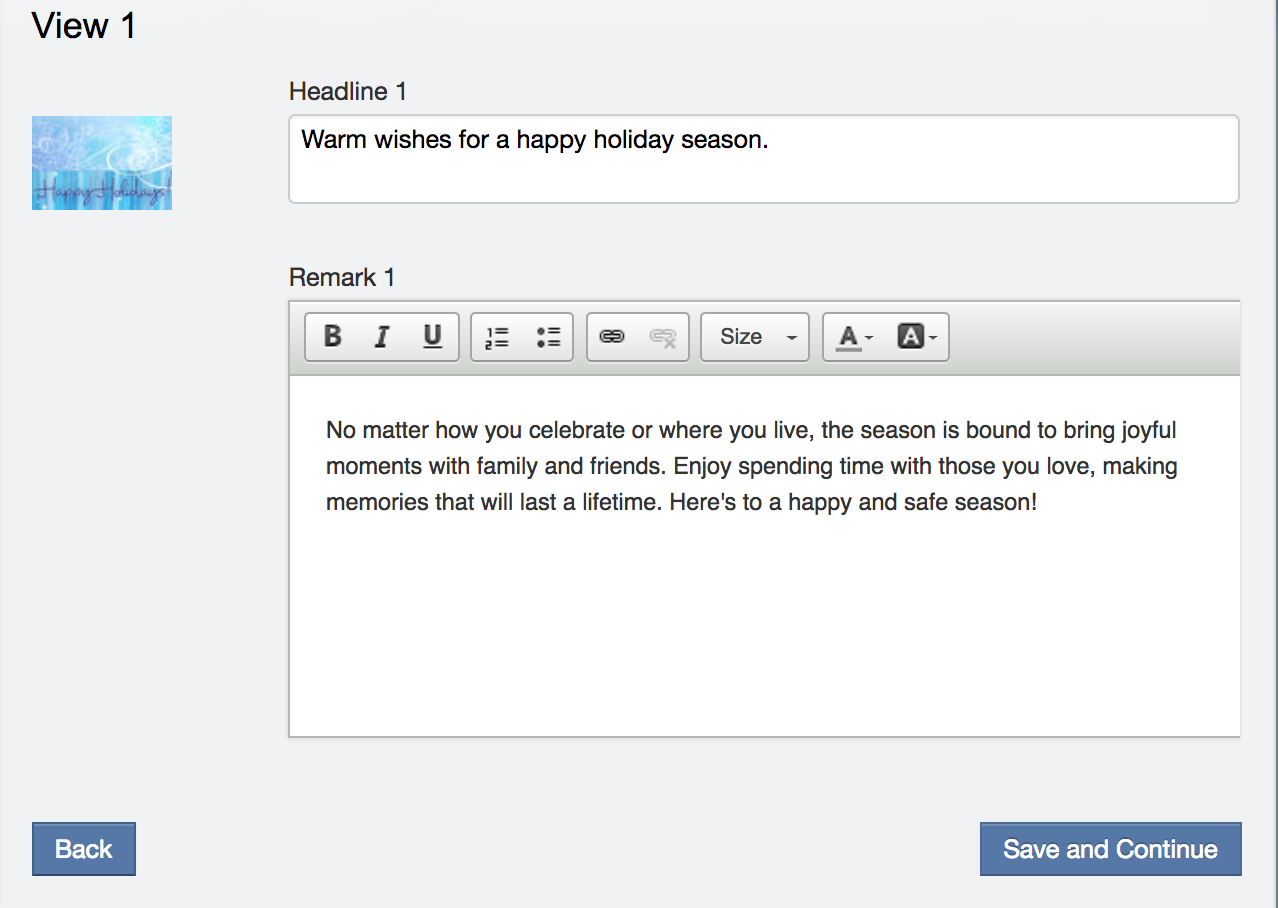
Click Save and Continue which takes you to the Agent Info. If you have yourself setup on CBExchange, this information will already be populated for you.
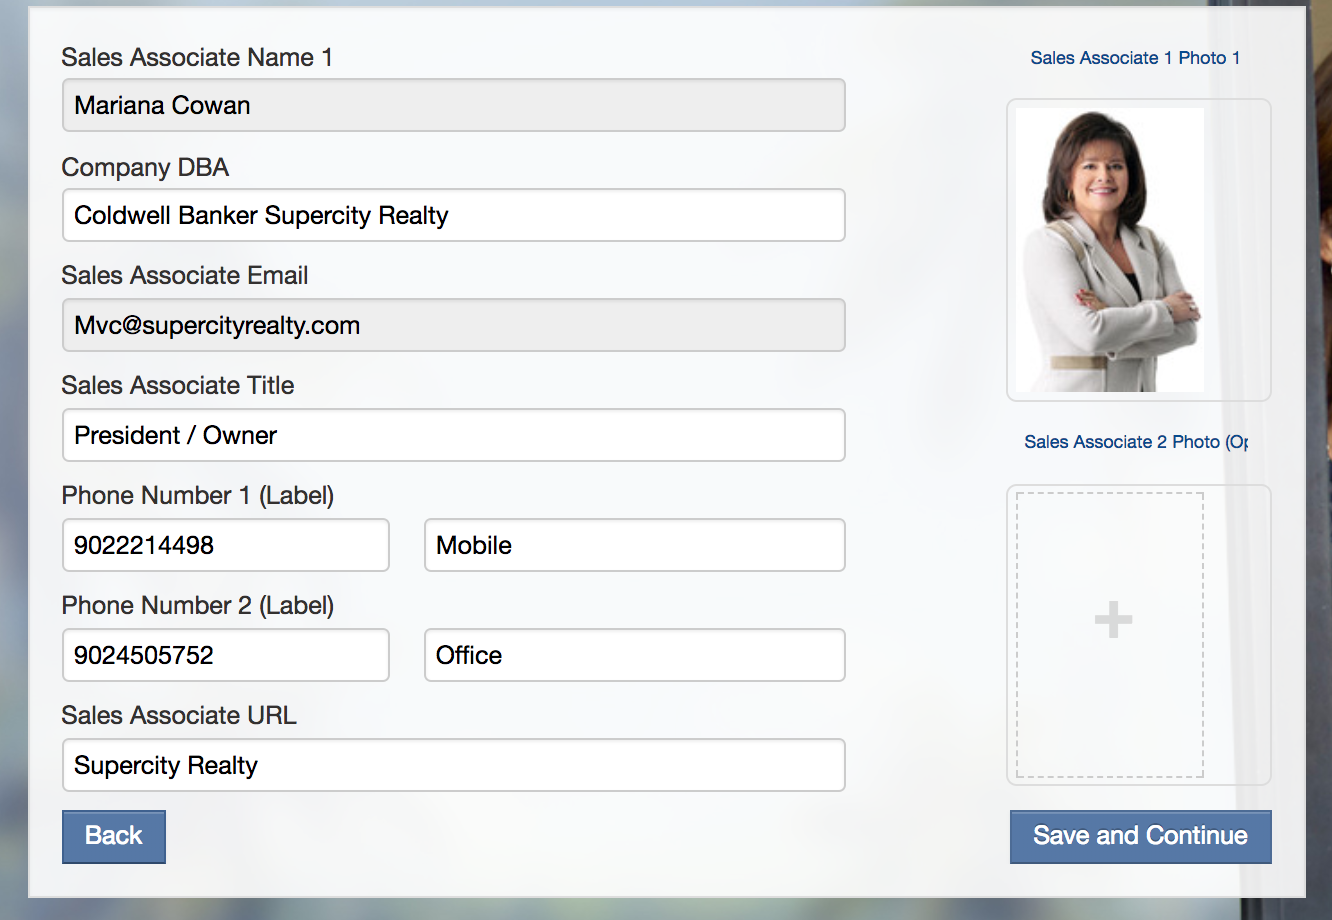
Click Save and Continue.
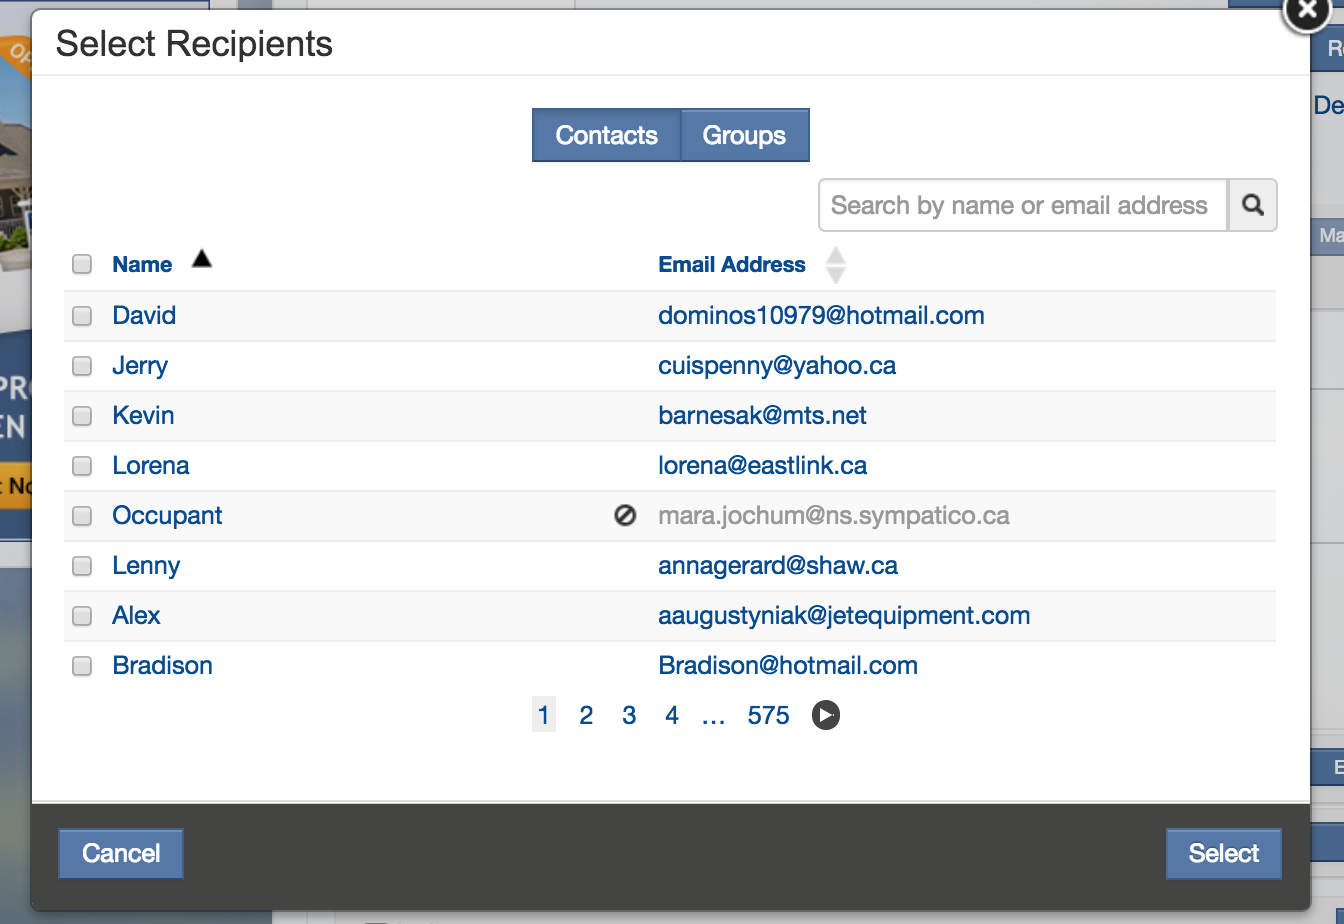
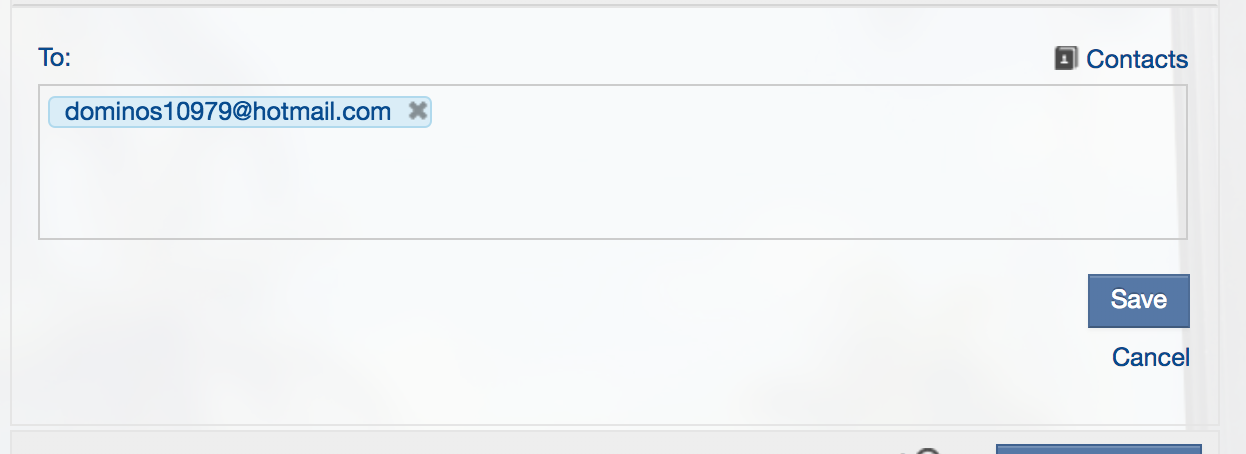
Now it’s time to add your contacts to this campaign. Click “Manage Contacts” and then the “Contact” link (in orange) to bring up your list of contacts. You can select individual contacts or groups.